How to Clean Install Windows 11: A Step-by-Step Guide
A clean install of Windows 11 can be a great way to refresh your system, troubleshoot performance issues, or start fresh with a new computer. Here’s a step-by-step guide on how to do it:
1. Backup Your Data
Before you begin, back up all your important files to an external drive or cloud storage. This includes documents, photos, music, and any other data you don’t want to lose.
2. Create Windows 11 Installation Media (or buy from us by clicking our shop link Lazada or Shopee)

- Download the Media Creation Tool: Visit the official Microsoft website and download the Media Creation Tool.
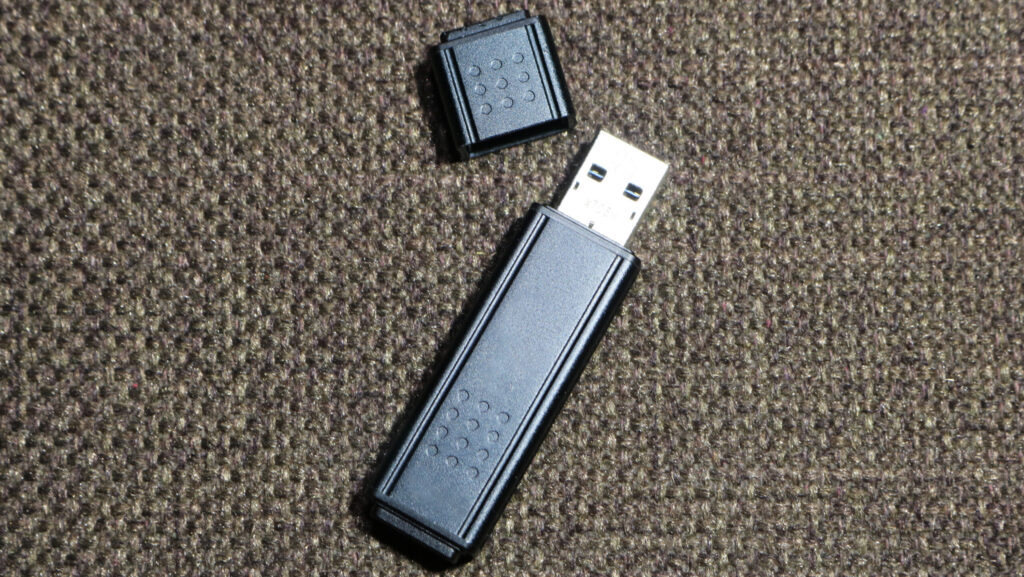
- Create a Bootable USB Drive: Use the tool to create a bootable USB drive with the Windows 11 installation files. You’ll need an 8GB or larger USB drive.
3. Boot from the Installation Media
- Restart your computer: Insert the bootable USB drive and restart your computer.
- Enter BIOS/UEFI: During startup, press the designated key (usually Del, F2, F10, or Esc) to enter the BIOS/UEFI settings.
- Change Boot Order: In the boot order menu, prioritize the USB drive as the first boot device.
- Save and Exit: Save the changes and exit the BIOS/UEFI.
4. Start the Windows 11 Installation
- Follow the on-screen instructions: The Windows 11 setup will begin.
- Choose “Custom: Install Windows only (advanced)” This option allows you to perform a clean install.
- Delete Existing Partitions: Carefully select and delete all existing partitions on your hard drive.
- Create a New Partition: Create a new partition for Windows 11.
- Install Windows 11: Select the newly created partition and proceed with the installation.
5. Activate Windows
- Enter your product key: If you have a product key, enter it when prompted. (If you do not, buy product key from us Digital – Lazada – Shopee)
- Activate online: Windows 11 will attempt to activate online using your Microsoft account.
6. Customize and Update
- Personalize settings: Choose your region, language, and other preferences.
- Install updates: After the initial setup, install the latest Windows updates to ensure stability and security.
7. Install Drivers
- Install device drivers: Download and install the latest drivers for your motherboard, graphics card, and other hardware components from the manufacturer’s website.
8. Restore Your Data (Optional)
- Restore your files: If you backed up your data, restore it to your computer.
Additional Tips:
- Disable antivirus temporarily: Temporarily disable your antivirus software during the installation process.
- Disconnect peripherals: Disconnect unnecessary peripherals like printers and external drives.
- Check system requirements: Make sure your computer meets the minimum system requirements for Windows 11.


